

Оглавление
- 1. Введение в герметики для ванных комнат
- 2. Виды герметиков для ванных комнат
- 3. Как выбрать подходящий герметик для ванной комнаты
- 4. Необходимые инструменты и материалы
- 5. Подготовка перед нанесением герметика
- 6. Как наносить герметик для ванной комнаты
- 7. Время отверждения и уход
- 8. Удаление и замена старого герметика
- 9. Преимущества надлежащего уплотнения
- 10. Самостоятельный монтаж или профессиональная установка
- 11. Распространенные проблемы с герметиком для ванной комнаты
- 12. ЧАСТО ЗАДАВАЕМЫЕ ВОПРОСЫ
Введение в герметики для ванных комнат
Герметик для ванных комнат — это специализированное средство, предназначенное для создания водонепроницаемого барьера в местах, регулярно подвергающихся воздействию влаги, таких как ванны, душевые кабины, раковины и унитазы. Он помогает предотвратить повреждения от воды, появление плесени, образование налета и преждевременный износ сантехники и поверхностей в ванной комнате.
При правильном нанесении он защищает швы и щели, через которые в противном случае могла бы просачиваться вода. Благодаря этому он играет ключевую роль в уходе за ванной комнатой и обеспечении её долговечности.
Как для строителей, так и для дистрибьюторов и покупателей, занимающихся самостоятельным ремонтом, главное — правильно подобрать тип герметика в зависимости от области применения. Компания QingDao Joobond New Materials Co., LTD. (Joobond) — производитель строительных материалов, специализирующийся на клеевых продуктах, что имеет большое значение в тех случаях, когда важны стабильность качества и соответствие продукта конкретным условиям применения.
Виды герметиков для ванных комнат
Силиконовый герметик
Силиконовый герметик — самый распространённый вид герметиков. Он обладает эластичностью, долговечностью и водостойкостью, что делает его отличным выбором для зон, где требуется долговечное уплотнение. Кроме того, он хорошо переносит перепады температур, что особенно важно для влажных помещений, подвергающихся частому использованию и уборке.
Акриловый герметик
Акриловый герметик проще наносить и удалять, чем силиконовый. Его можно окрашивать, поэтому он подходит для тех участков, где герметик должен гармонировать с окружающей отделкой. Минус заключается в том, что он менее эластичен и, как правило, менее долговечен в условиях повышенной влажности, поэтому его лучше использовать в местах с низким уровнем влажности или в менее требовательных условиях.
Полиуретановый герметик
Полиуретановый герметик отличается высокой адгезией и хорошей долговечностью. Он устойчив к истиранию и воздействию химических веществ, поэтому подходит для использования в условиях интенсивной эксплуатации. Однако работать с ним, как правило, сложнее, чем с силиконовыми или акриловыми герметиками, поэтому его лучше использовать в тех случаях, когда эксплуатационные характеристики важнее простоты нанесения.
Сравнение типов
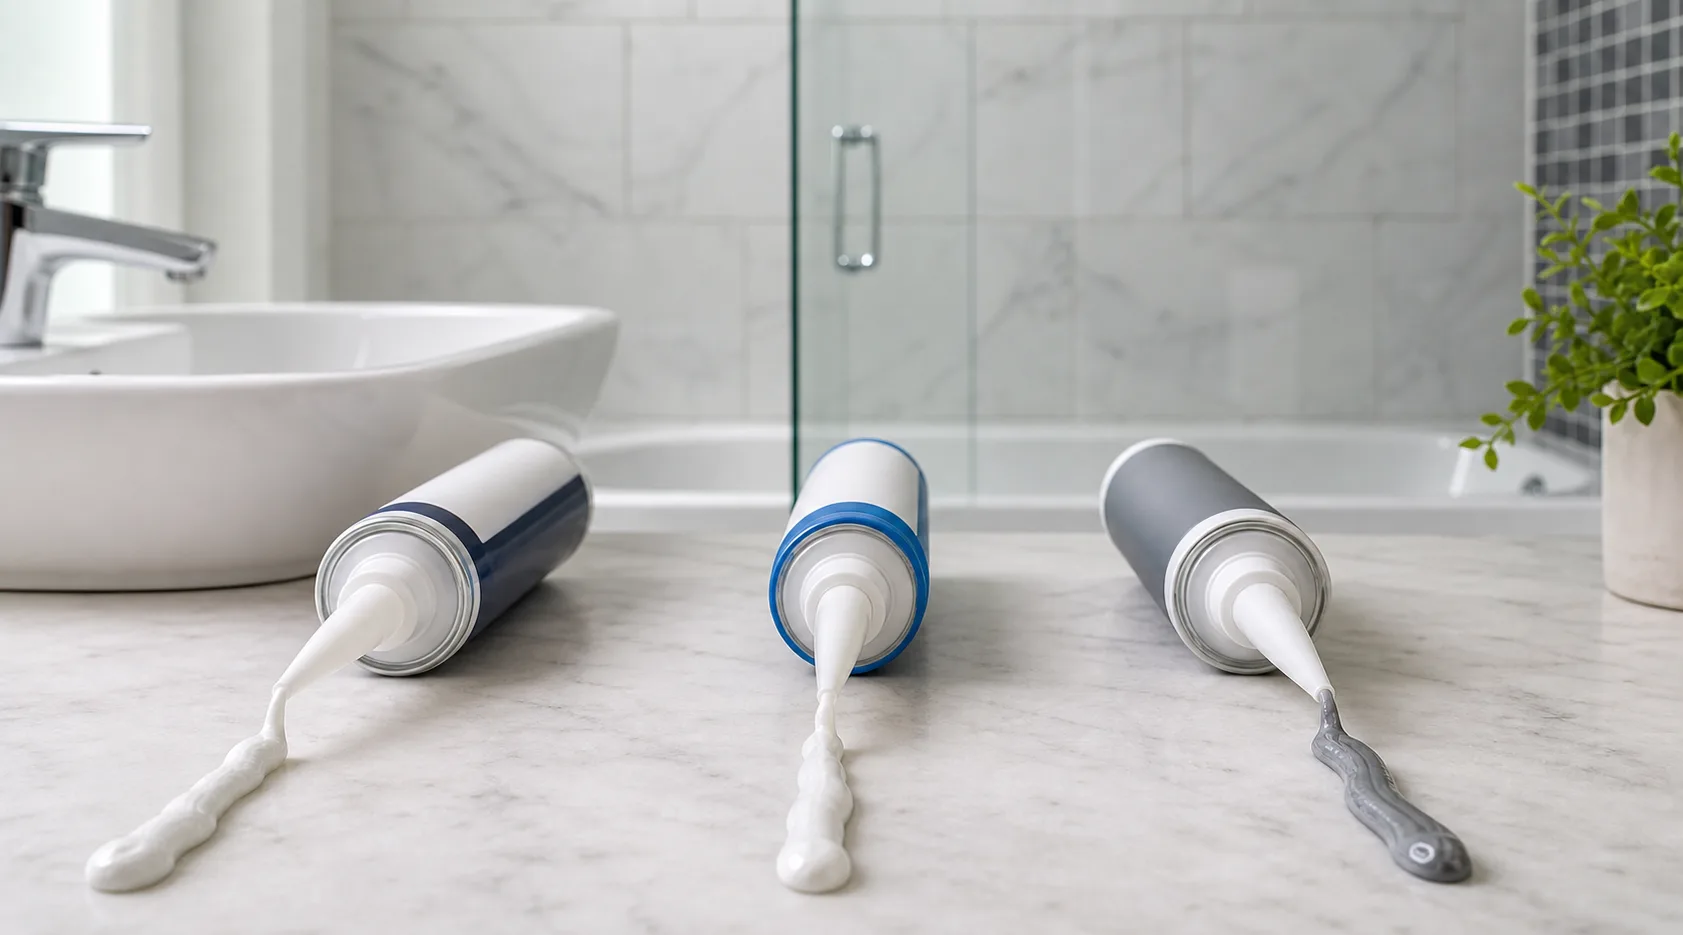
Проще всего классифицировать три основные категории герметиков по сферам применения:
- Силикон: идеально подходит, когда важны водостойкость и гибкость.
- Акрил: полезно в тех случаях, когда важны простота нанесения и хорошая окрашиваемость.
- Полиуретан: подходит в случаях, когда требуются высокая адгезия и долговечность.
Такое сравнение помогает сузить круг выбора ещё до того, как вы откроете тюбик.
Как выбрать подходящий герметик для ванной комнаты
При выборе герметика для ванной комнаты следует учитывать несколько практических факторов:
- Местоположение: Различные элементы ванной комнаты требуют разной степени влагостойкости.
- Долговечность: Определите, какой срок службы должна обеспечить прокладка до ее замены.
- Гибкость: Некоторые соединения подвержены более сильным перемещениям, чем другие, особенно в местах, где часто наблюдаются перепады температуры или смещения поверхности.
- Простота применения: Некоторые герметики наносить и удалять проще, чем другие.
- Требования к окончанию обучения: Если эту зону планируется покрасить или требуется более гармоничное визуальное сочетание, это может повлиять на выбор.
Рекомендации для различных областей применения
- Душевые кабины и ванны: Как правило, силиконовый герметик — это лучший выбор.
- Раковины и столешницы: Акриловый герметик может подойти, особенно если вы планируете покрасить поверх него.
- Зоны с высокой нагрузкой: Полиуретановый герметик идеально подходит для зон, подверженных повышенному износу.
Главное — правильно подобрать материал с учетом условий эксплуатации. Герметик, который хорошо себя зарекомендовал в одной части ванной комнаты, может выйти из строя раньше в другой, если там более высокая влажность, более сильные деформации или более интенсивное истирание.
Необходимые инструменты и материалы
Прежде чем приступить к работе, подготовьте необходимые инструменты и материалы, чтобы процесс прошел гладко от этапа подготовки до завершения.
Необходимые инструменты
- Нож для хозяйственных работ или инструмент для удаления герметика
- Пистолет для герметика или шпатлевки
- Малярный скотч
- Инструмент для сглаживания или палец в перчатке для доработки валика
- Чистые тряпки или бумажные полотенца
- Ведро или ёмкость для уборки, если понадобится
Дополнительные материалы
- Медицинский спирт или специальный чистящий раствор
- Средство для удаления старых остатков герметика
- Средства индивидуальной защиты, такие как перчатки и защитные очки
- Подходящий тип герметика для ванной комнаты для обрабатываемой поверхности
Если подготовить всё заранее, это позволит сократить задержки после обнажения шва и поможет избежать затвердевания герметика до того, как вы закончите его обработку.
Подготовка перед нанесением герметика
Очистка поверхности
Поверхность должна быть чистой, сухой и свободной от мыльных разводов, жира, пыли и мусора. Перед нанесением герметика обработайте поверхность медицинским спиртом или другим подходящим чистящим средством.
Удаление старого герметика
Если на поверхности остался старый герметик, полностью удалите его. Воспользуйтесь средством для удаления герметика и ножом, чтобы удалить старый материал, чтобы новый герметик мог надежно прилипнуть. Любые оставшиеся остатки могут ослабить сцепление и сократить срок службы нового слоя герметика.
Маскировка и защита
Наклейте малярную ленту по краям стыка, чтобы защитить соседние поверхности и обеспечить аккуратные, ровные линии. Это особенно полезно в открытых местах, где важна аккуратная отделка.
Заключительная проверка перед подачей заявки
Прежде чем приступить к нанесению нового герметика, убедитесь, что:
- Эта территория полностью высохла.
- Старый герметик был удален.
- В соединении нет свободных частиц мусора.
- Если вы используете ленточные линии, они уже установлены.
Этот этап подготовки является одним из ключевых факторов, определяющих долговечность герметика.
Как наносить герметик для ванной комнаты
Пошаговое руководство
- Подготовьте рабочую зону путем очистки поверхности и удаления старого герметика.
- Отрежьте насадку трубочки с герметиком под углом, чтобы регулировать размер валика.
- Вставьте трубочку в пистолет для герметика и, при необходимости, проверить поток на обрезках материала.
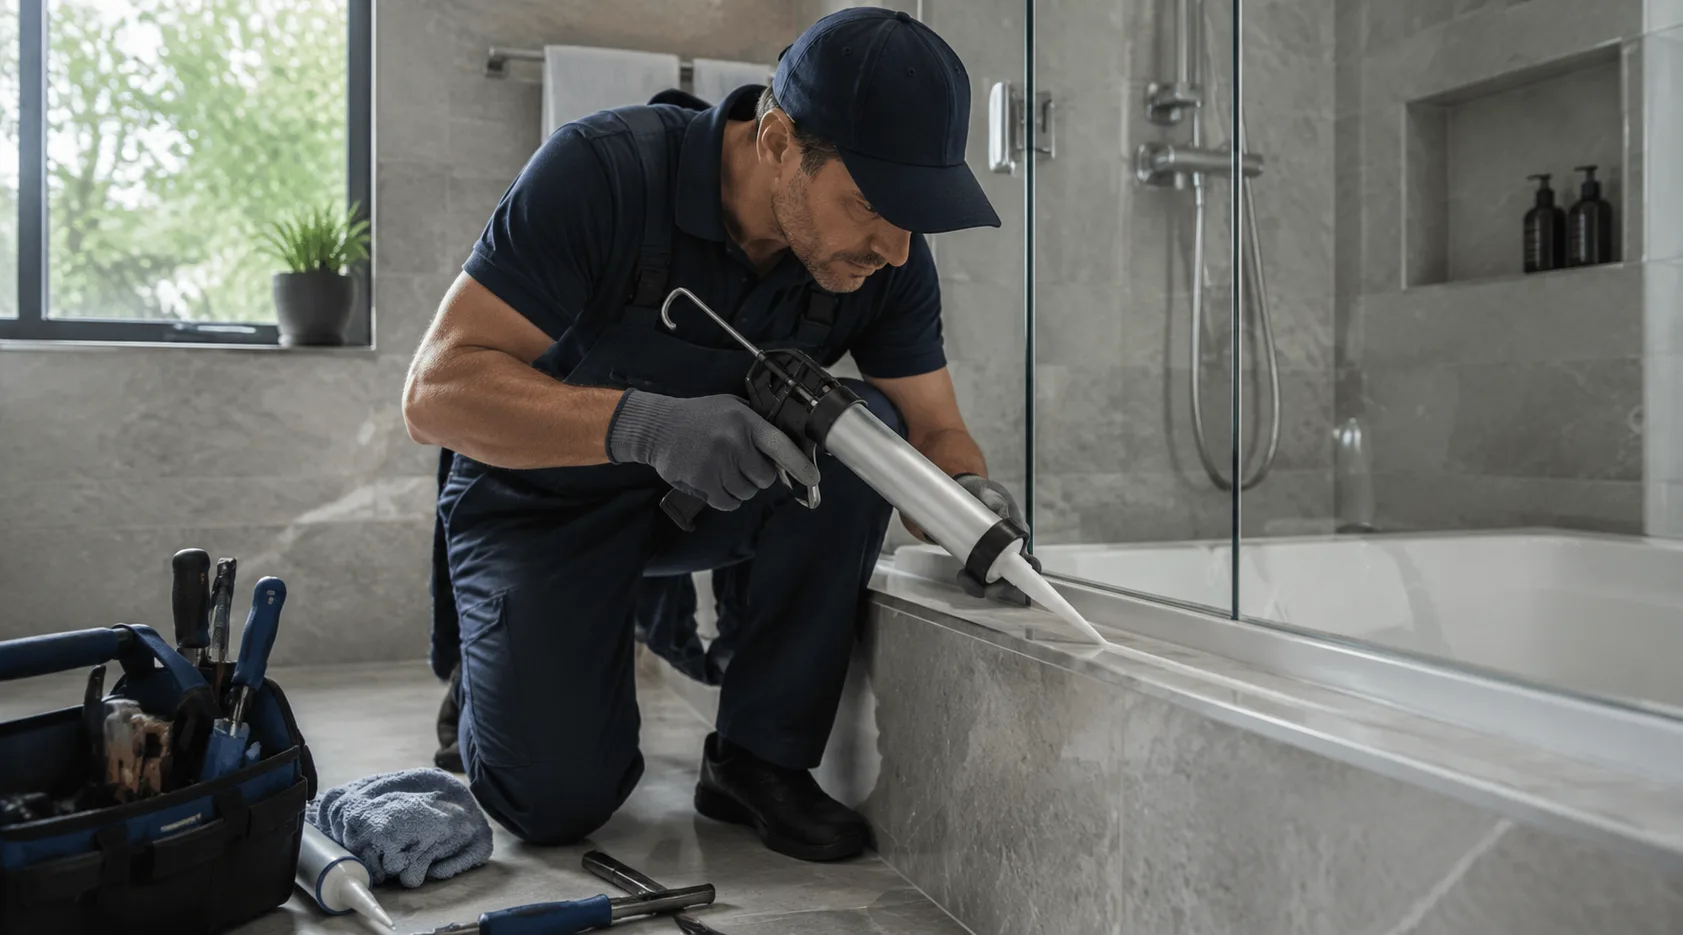
- Нанесите ровную полоску вдоль шва, стараясь, чтобы линия была как можно ровнее.
- Работайте небольшими частями чтобы герметик не начал образовывать пленку до того, как вы его разгладите.
- Разгладьте герметик с помощью инструмента для разглаживания или пальца в перчатке. Необходимо добиться получения сплошного шва, полностью прилегающего к обоим краям стыка.
- Аккуратно снимите малярную ленту пока герметик ещё не застыл — так поверхность получится более гладкой.
- Не трогайте эту местность чтобы герметик смог как следует отвердеть.
Советы по применению
- Двигайте пистолет с постоянной скоростью, чтобы избежать пропусков или скоплений краски.
- Старайтесь наносить один ровный слой, а не несколько перекрывающихся слоев.
- Если линия нанесения стала неровной, сразу же исправьте её, пока она не начала затвердевать.
- Не прикасайтесь к загерметизированному участку после выравнивания, так как это может повредить покрытие.
- В помещениях с высокой влажностью следует поддерживать постоянный темп работы и равномерную толщину полосы герметика, чтобы он мог сформировать ровный барьер без разрывов.
Распространенные ошибки, которых следует избегать
- Нанесение слишком большого количества герметика: Это может привести к появлению неровных линий и замедлению отверждения.
- Пропуск этапа подготовки поверхности: Некачественная очистка может помешать надлежащей адгезии.
- Не разглаживать валик: Неровная поверхность может ухудшить как внешний вид, так и эффективность.
- Работает слишком медленно: Если герметик начинает образовывать пленку, выполнить финишную обработку становится сложнее.
- Герметизация поверх влажных остатков: Влага, скопившаяся под уплотнительным валиком, может нарушить герметичность.
Время отверждения и уход
Сколько времени занимает процесс высыхания?
Время отвердевания зависит от типа герметика и условий окружающей среды. Для полного отвердевания силиконовых герметиков обычно требуется от 24 до 48 часов.
Поскольку время отвердевания может варьироваться, следует избегать попадания воды на свежий герметик до его полного отвердевания. На практике данный участок следует вводить в эксплуатацию только после полного отвердевания герметика в соответствии с инструкцией по применению.
Советы по уходу за герметиком
- Регулярно убирайте чтобы уменьшить образование мыльного налета, грязи и плесени.
- Проводить осмотр ежегодно на наличие трещин, отслоений или ранних признаков износа.
- При необходимости повторите процедуру, особенно в местах, которые часто используются или подвергаются постоянному воздействию влаги.
- Обращайте внимание на изменение цвета или мягкие участки, что может свидетельствовать о выходе уплотнения из строя.
Регулярный уход помогает продлить срок службы уплотнителя и облегчает выявление проблем до того, как они усугубятся.
Удаление и замена старого герметика
Когда следует заменять герметик
Замените герметик, если на нём появились трещины, отслоения или плесень. Это типичные признаки того, что герметик больше не обеспечивает надлежащую защиту стыка.
Процесс удаления
- Удалите старый герметик по обоим краям с помощью ножа для резки.
- Снимите защитную пленку внимательно.
- Тщательно очистите поверхность перед нанесением нового герметика.
Если остались остатки, удалите их перед повторной герметизацией. Новый герметик лучше всего ложится на чистую и сухую поверхность.
На что следует обратить внимание
Если герметик начинает терять свои свойства преждевременно, наиболее распространёнными причинами являются некачественная очистка, скопление влаги, использование неподходящего типа герметика или неравномерное нанесение герметика. Для устранения проблемы обычно требуется полностью удалить повреждённый материал и начать работу заново, а не просто заделывать повреждение.
Преимущества надлежащего уплотнения
Профилактика появления плесени и грибка
Надлежащая герметизация помогает предотвратить проникновение воды в трещины и щели, что снижает вероятность появления плесени и грибка за поверхностями в ванной комнате.
Защита поверхностей в ванной комнате
Герметик помогает защитить материалы, лежащие под ним, от проникновения влаги, которое в противном случае со временем может привести к их повреждению.
Повышение эстетической привлекательности
Аккуратная, правильно нанесенная линия герметика может улучшить внешний вид ванной комнаты, придав краям аккуратный и законченный вид.
Самостоятельный монтаж или профессиональная установка
Плюсы и минусы самостоятельного ремонта
Плюсы
- Более низкая стоимость
- Мгновенные результаты
- Личный контроль над процессом
Минусы
- Требует времени и терпения
- Ошибки могут повлиять как на внешний вид, так и на производительность
- Сложные участки может быть сложнее аккуратно заделать
Когда стоит обратиться к профессионалу
Обратиться к профессионалу имеет смысл, если площадь большая, работа сложная или у вас нет необходимых инструментов или опыта. Это также может быть лучшим вариантом, если старый герметик сильно разтекся, к швам трудно добраться или повторяющиеся проблемы указывают на более серьезную проблему с влажностью.
В целях обеспечения стабильного качества продукции некоторые покупатели также предпочитают сотрудничать с производителем, способным гарантировать стабильные поставки и возможность индивидуальной настройки. Joobond — производитель строительных материалов, специализирующийся на клеевых изделиях, что может быть актуально при закупке герметиков для повторного использования или проведения испытаний.
Распространенные проблемы с герметиком для ванной комнаты
Причины выхода герметика из строя
Нарушение герметичности обычно происходит в тех случаях, когда поверхность была очищена ненадлежащим образом, старый материал не был полностью удален, был использован неподходящий тип герметика или герметик был нанесен неравномерно. Сильная влажность, деформации и износ со временем также могут привести к снижению эффективности герметика.
Распространенные признаки неисправности
Обратите внимание на следующие тревожные признаки:
- Растрескивание
- Пилинг
- Зазоры по краю стыка
- Появление плесени или грибка
- Потемнение, которое не удаляется при чистке
- Участки, которые кажутся неплотно прилегающими или утратившими сцепление
Что делать, если герметик перестает выполнять свою функцию
Если герметик начинает растрескиваться, отслаиваться или на нём появляется плесень, полностью удалите повреждённый материал и заново загерметизируйте участок после тщательной очистки и подготовки. Частичное заделывание может не решить основную проблему, если сцепление уже нарушено.
ЧАСТО ЗАДАВАЕМЫЕ ВОПРОСЫ
Какой герметик лучше всего подходит для душевой кабины?
Силиконовый герметик, как правило, является лучшим выбором для душевых кабин, поскольку он обладает эластичностью и водостойкостью.
Как понять, когда нужно заново загерметизировать?
Если вы заметили трещины, отслоения, щели или появление плесени, это, как правило, означает, что пора удалить старый герметик и нанести новый.
Можно ли наносить новый герметик поверх старого?
Лучше сначала удалить старый герметик. Новый герметик надежнее прилипает к тщательно очищенной поверхности, чем к остаткам старого материала.
Почему герметик у меня так быстро вышел из строя?
К чистым причинам относятся: некачественная очистка, скопление влаги, использование неподходящего типа герметика или нанесение неравномерного слоя герметика.
Нужен ли для всех зон в ванной комнате один и тот же герметик?
Нет. В разных зонах предъявляются разные требования. Для душевых кабин и ванн обычно требуется водостойкость и эластичность, тогда как для раковин, столешниц или зон с более интенсивной эксплуатацией могут потребоваться другие свойства.
 English
 العربية
 Español de México
 Русский
 Tiếng Việt
 Português do Brasil
 Bahasa Indonesia
 Türkçe