

Table of Contents
- 1. Why Not Every Silicone Sealant Is Safe for Fish
- 2. How to Verify a Sealant Is Actually Aquarium-Safe
- 3. Aquarium Sealant vs. General Silicone Sealant
- 4. Surface Preparation: Where Most Seal Failures Actually Start
- 5. Application and Cure Time for a Full Water Seal
- 6. Common Aquarium Sealant Mistakes
- 7. Frequently Asked Questions
- 8. Resealing an Older Aquarium: What Changes
- 9. Choosing the Right Product
A standard hardware-store silicone sealant and an aquarium-safe sealant can look identical in the tube, but one of them will slowly poison the water in a sealed tank while the other won’t. The difference comes down to the curing additives used during manufacturing, and getting this choice wrong isn’t a cosmetic mistake — it’s a fish-killing one. This guide covers what actually makes a sealant aquarium-safe, how to verify it, and the application details that matter for a leak-free seal.
Why Not Every Silicone Sealant Is Safe for Fish
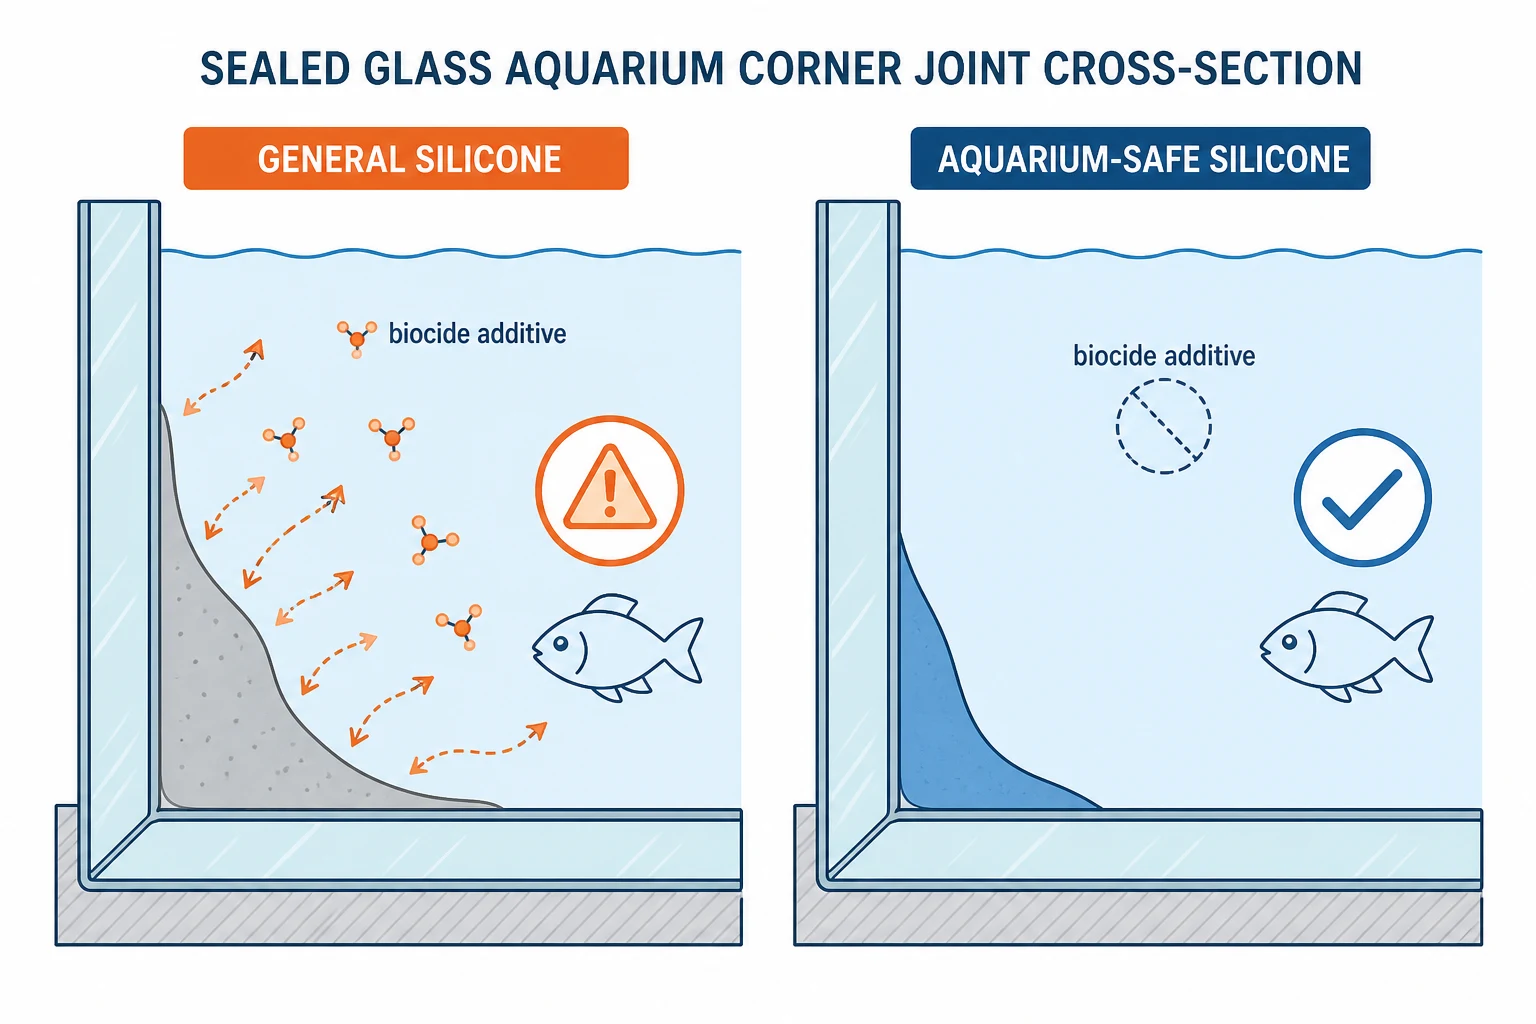
The base polymer in most construction and aquarium sealants is the same 100% silicone chemistry — the difference that matters is in the curing system and any additives blended in during manufacturing.
General-purpose silicone sealants, especially those marketed for bathroom or kitchen use, frequently contain anti-fungal or anti-mildew additives (often biocides) to prevent mold growth in damp household environments. Those same additives are toxic to fish and invertebrates in a sealed aquatic environment, where they can leach into the water over time rather than off-gassing into open air the way they would in a bathroom. Aquarium-safe sealants are formulated without these biocide additives specifically so they’re inert once cured and won’t introduce toxins into an enclosed water system.
This is also why acetic-cure (vinegar-smelling) silicones are generally preferred over alcohol-cure or oxime-cure formulations for aquarium use — acetic-cure silicone has the longest track record in the aquarium hobby and the clearest manufacturer guidance confirming aquarium safety once fully cured.
How to Verify a Sealant Is Actually Aquarium-Safe
Don’t rely on tube color or a general “waterproof” claim — verify through the actual product documentation.
- Check for an explicit aquarium-safe or fish-safe claim from the manufacturer, ideally backed by a safety data sheet (SDS) that confirms the formulation is free of fungicides and biocides.
- Confirm it’s 100% silicone, not a silicone-latex blend or a hybrid formulation — blended sealants often contain components not tested or intended for permanent submersion.
- Look for acetic-cure (vinegar odor during cure) as a strong positive signal, though this alone isn’t a guarantee — always confirm with the specific product’s documentation rather than relying on smell alone.
- Avoid sealants with “kitchen and bath” or “mold/mildew resistant” marketing language unless the same product is separately and explicitly confirmed safe for aquarium use — that marketing language is a strong indicator of the biocide additives aquarium use needs to avoid.
Aquarium Sealant vs. General Silicone Sealant
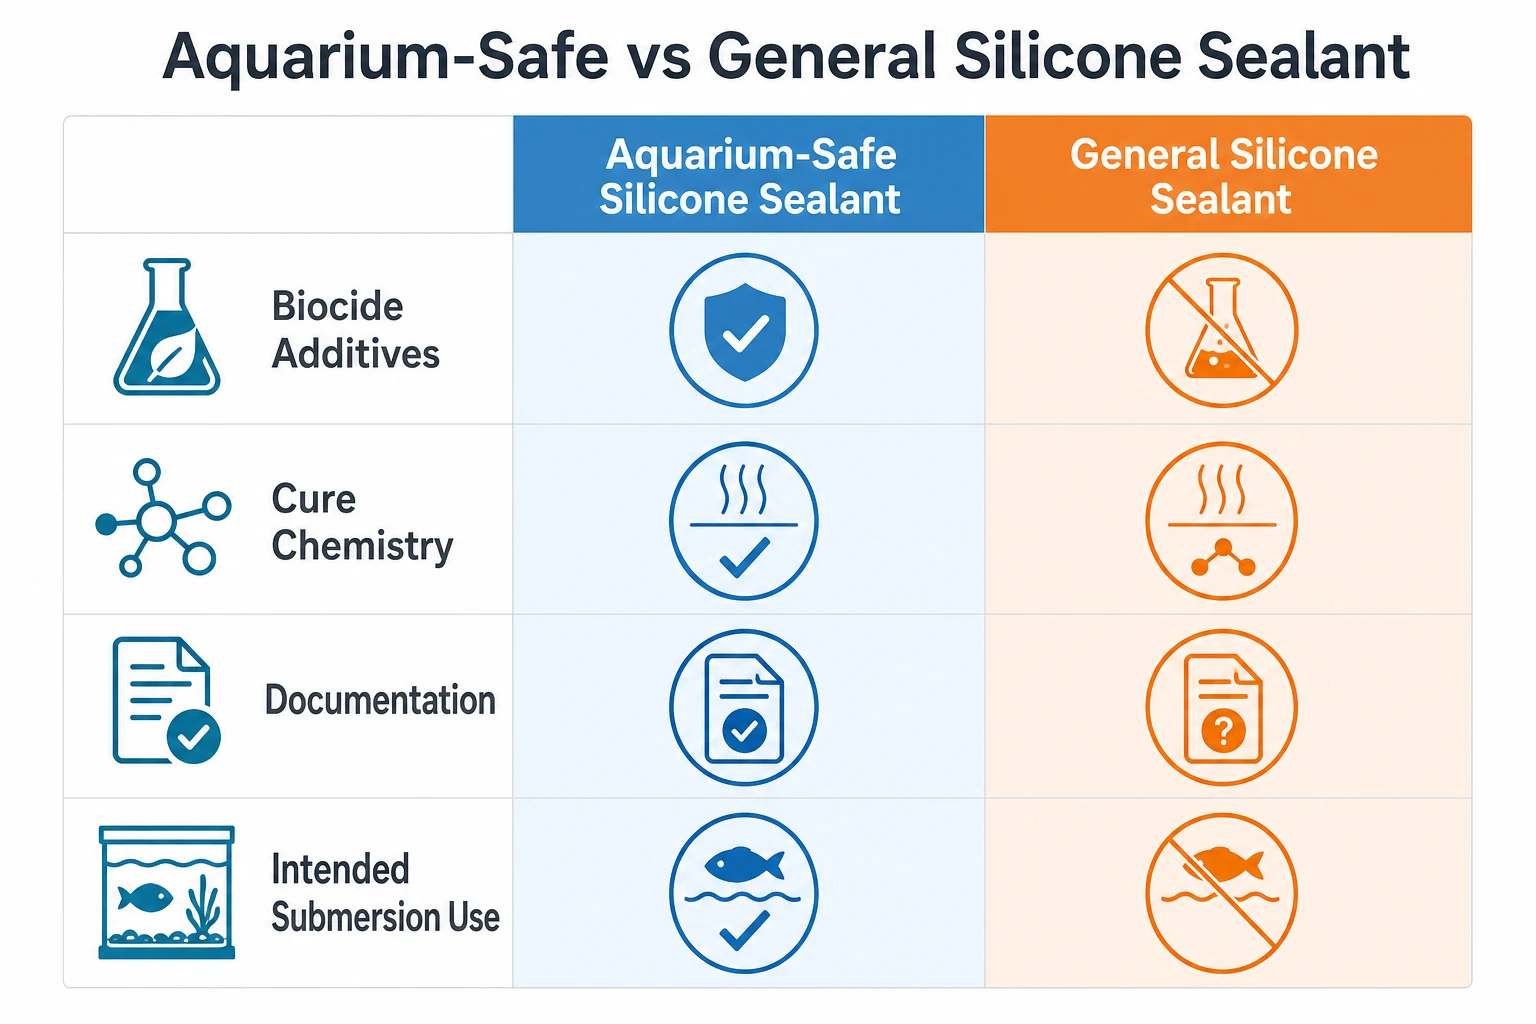
| Factor | Aquarium-Safe Silicone Sealant | General-Purpose Silicone Sealant |
|---|---|---|
| Biocide/fungicide additives | Absent by formulation | Often present, especially kitchen/bath variants |
| Cure chemistry typically used | Acetic-cure (vinegar odor) | Varies — acetic, neutral, or oxime-cure |
| Documentation | Explicit aquarium-safe claim on label/SDS | General waterproofing claim only |
| Intended submersion use | Designed for permanent underwater contact | Designed for splash/moisture resistance, not full submersion with livestock |
Surface Preparation: Where Most Seal Failures Actually Start
Aquarium sealant failures are far more often a surface preparation problem than a product selection problem. Silicone needs a clean, dry, oil-free surface to bond properly, and aquarium glass or acrylic often carries contamination that isn’t visible at a glance.
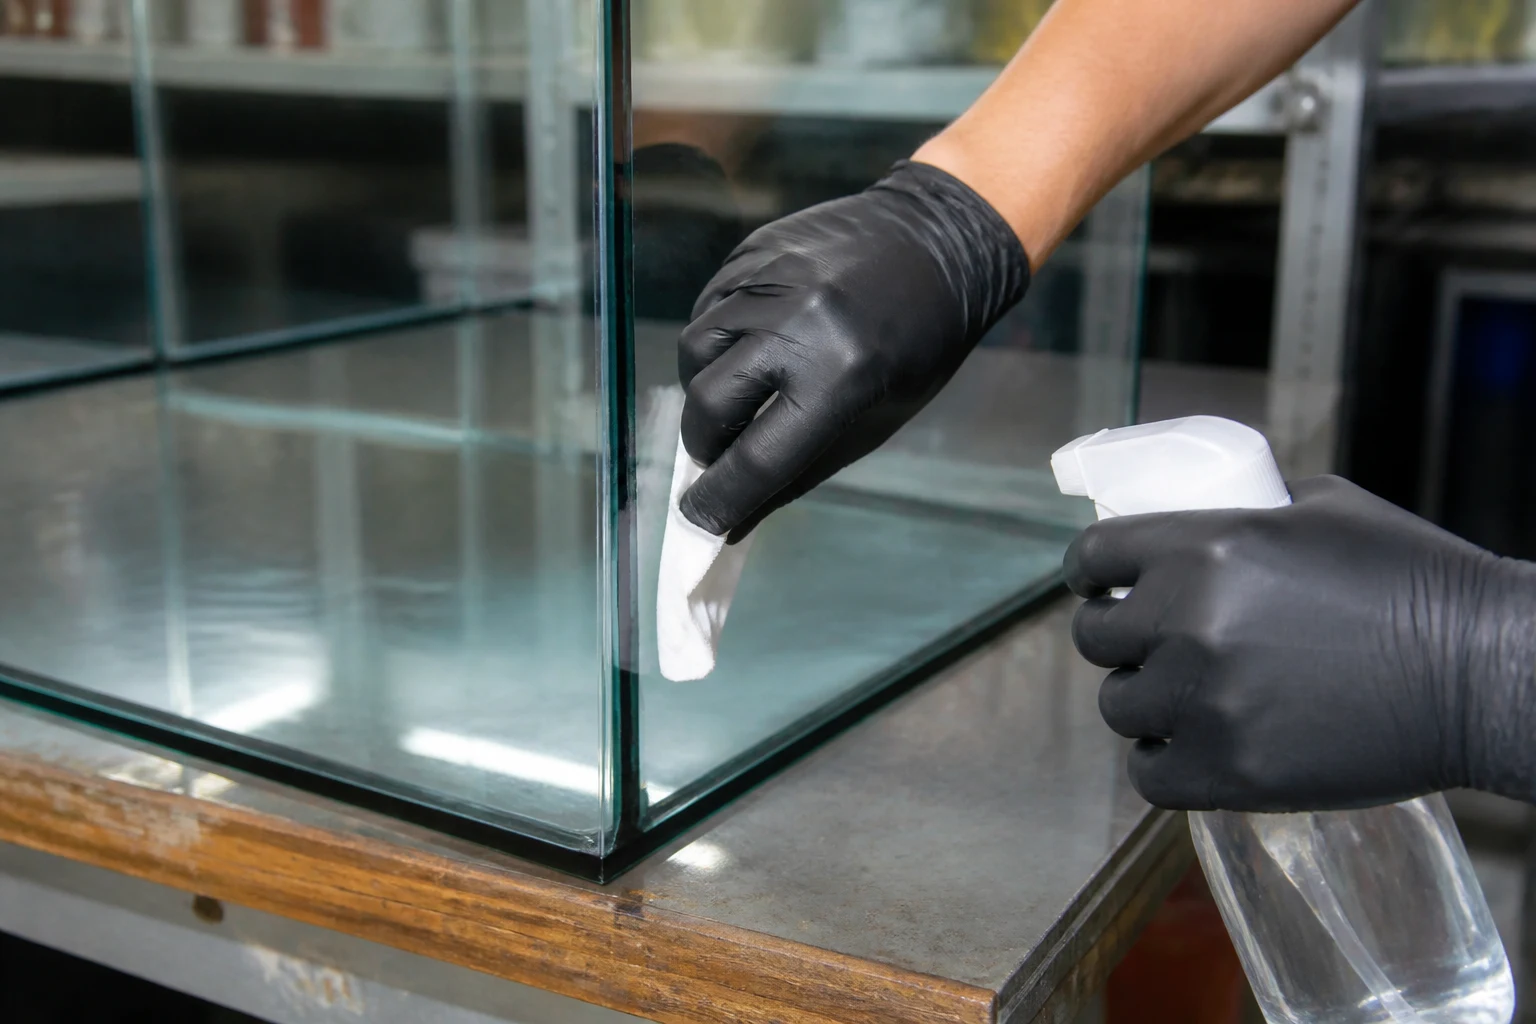
Glass surfaces should be cleaned with isopropyl alcohol (not household glass cleaner, which can leave a residue film) and allowed to fully dry before sealant application. Any trace of old, failed silicone must be completely removed — silicone does not bond reliably to old cured silicone, only to the clean substrate underneath, so resealing over old bead remnants is a common cause of early reseal failure. On acrylic tanks, compatibility matters even more: some solvent-based cleaning products can craze or stress-crack acrylic, so a cleaner specifically safe for acrylic should be used rather than assuming a glass-safe product is interchangeable.
Application and Cure Time for a Full Water Seal
Aquarium sealant needs a longer, more conservative cure period than a typical household application because the consequence of an incomplete cure is a tank failure, not just a cosmetic touch-up.
- Apply in a continuous, unbroken bead along the seam — any gap or air pocket in the bead becomes a potential leak path once the tank is filled.
- Tool the bead to ensure full contact with both surfaces of the joint, removing excess material rather than leaving an uneven profile that traps air.
- Allow the full manufacturer-stated cure time before filling — many aquarium hobbyists wait longer than the minimum stated cure time (commonly 24–48 hours minimum, often extended to a week for larger or structural seams) specifically because full cure-through-depth takes longer than surface skinning.
- Leak-test before stocking livestock. Fill the tank with plain water first and observe for any seepage over at least 24 hours before introducing fish or other livestock, rather than filling and stocking in the same session.
Common Aquarium Sealant Mistakes
- Using a bathroom or kitchen silicone because it was already on hand, without checking for biocide additives.
- Resealing directly over old, degraded silicone instead of fully removing it down to bare glass or acrylic first.
- Filling the tank too soon after application, before the sealant has cured through its full depth, not just skinned over on the surface.
- Skipping the dry leak test and stocking fish immediately after filling, removing the safety margin to catch a slow leak before livestock is at risk.
- Using a glass-rated cleaner on acrylic, risking stress cracking that compromises the tank independent of the sealant itself.
Frequently Asked Questions
Is all 100% silicone sealant aquarium safe?
No. Being 100% silicone (versus a silicone blend) is a necessary characteristic, but it’s not sufficient on its own — some 100% silicone products still contain biocide or fungicide additives intended for household mold resistance, which are not appropriate for a sealed aquatic environment. Always check for an explicit aquarium-safe claim rather than relying on the “100% silicone” label alone.
How long should aquarium sealant cure before filling the tank?
Follow the specific product’s datasheet, but most aquarium hobbyists wait at least 24–48 hours at a minimum, and often up to a week for larger structural seams, since full cure-through-depth takes meaningfully longer than the surface skinning that happens within the first hour.
Can you use aquarium sealant on an acrylic tank?
Yes, but surface preparation differs from glass — use an acrylic-safe cleaner rather than a general glass cleaner or solvent, since some cleaning agents can craze or stress-crack acrylic surfaces. Confirm the specific sealant product is compatible with acrylic substrates before application.
Resealing an Older Aquarium: What Changes
Resealing a tank that’s been in service for years is a different job from sealing a new build, and treating it the same way is a common source of repeat leaks.
Old silicone shrinks, yellows, and can pull away from the glass at a microscopic level long before a leak becomes visible to the eye. When resealing, remove the old bead completely using a plastic razor blade or scraper that won’t scratch glass, working slowly to avoid gouging the surface — metal blades and aggressive scraping can leave scratches that become new weak points. Any residue left behind, even a thin film, prevents new silicone from bonding directly to the glass, so a final alcohol wipe-down after mechanical removal is still necessary even after the bulk of the old bead is gone.
It’s also worth inspecting the full perimeter of every seam during a reseal, not just the section that appeared to leak. If one seam has degraded enough to leak, nearby seams of the same age and silicone batch are often not far behind, and resealing only the visible failure point while leaving adjacent aging seams untouched frequently leads to a second leak within a short period.
Choosing the Right Product
Verify aquarium safety through explicit manufacturer documentation rather than assuming based on silicone type or tube color, prepare the surface thoroughly with the correct cleaner for glass or acrylic, and respect the full cure time before filling and stocking. For broader silicone sealant selection criteria beyond aquarium-specific requirements, our Silicone Sealant range covers general-purpose and specialty formulations.
Keyword research source: SeoTools8 (Semrush-backed), US database, desktop, 2026-10-07. Seed “aquarium sealant” — Volume 1,600/mo, KD 16%, global 4.2K.
 English
  العربية
  Español de México
  Русский
  Tiếng Việt
  Português do Brasil
  Bahasa Indonesia
  Türkçe